
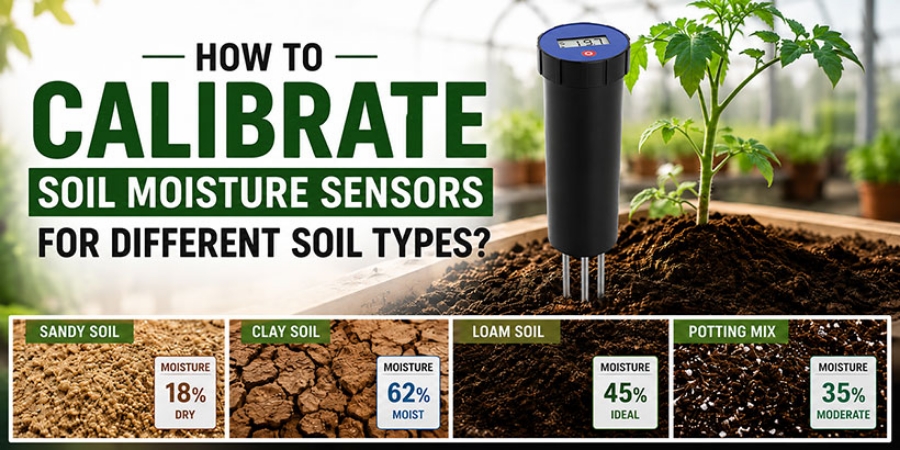
Soil moisture sensors are extremely useful in agriculture, gardening, greenhouses, farms, and smart irrigation systems, but their accuracy depends largely on calibration. Moisture sensors do not simply “know” whether the soil is dry or wet. They work by measuring the electrical or physical response generated by the soil, which varies depending on the soil’s texture, density, salinity, organic matter content, and water-holding capacity.
This is why the same sensor may display different readings in sandy soil, clay, loam, compost-rich potting mix, or greenhouse growing media. To obtain reliable readings, you need to calibrate the sensor based on the specific type of soil in which it will be used.
Why Soil Type Affects Sensor Readings
Different soils retain and release water in different ways. Sandy soil drains quickly and may feel dry shortly after watering. Clay retains water longer and may remain moist internally even when the surface appears dry. Loam typically provides a balanced moisture distribution, while potting mixes often contain peat moss, coconut coir, perlite, or compost—ingredients that can affect sensor readings.
For example, a reading that indicates "wet" in sandy soil may only indicate “moderately moist” in clay. This is why factory default settings do not always meet the needs of automated irrigation systems. Calibration helps convert the soil moisture sensor’s raw output data into actionable irrigation decisions.
Quick Answer
To calibrate a soil moisture sensor for different soil types, test the sensor under conditions of completely dry soil, completely saturated soil, and soil moisture levels close to those in the actual growing environment. Record the readings for each condition, then set dry and wet thresholds based on the soil’s actual moisture behavior, rather than using a one-size-fits-all value.
Basic Calibration Methods
The simplest method is two-point or three-point calibration.
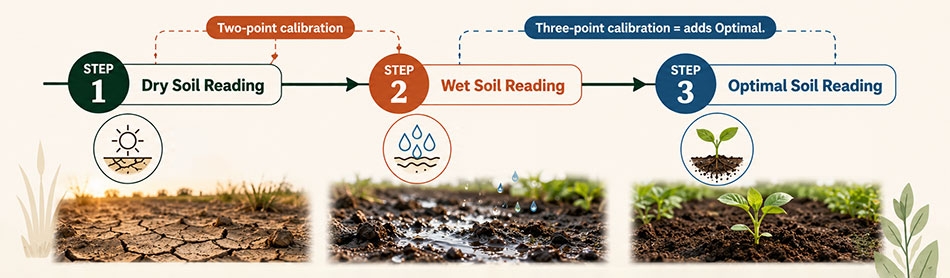
| For two-point calibration: | |
| Calibration Point | Definitions |
| Dry Soil Reading | The value when the soil is naturally air-dried or nearly dry |
| Wet Soil Reading | The value after the soil has been thoroughly watered and drained |
| Three-point calibration additionally includes: | |
| Optimal Soil Reading | The value at which soil moisture is sufficient to support healthy root growth |
For automatic irrigation systems, the third calibration point is particularly important, as plants should not be watered only when the soil is completely dry. Most plants grow better when moisture levels are maintained within an appropriate range.
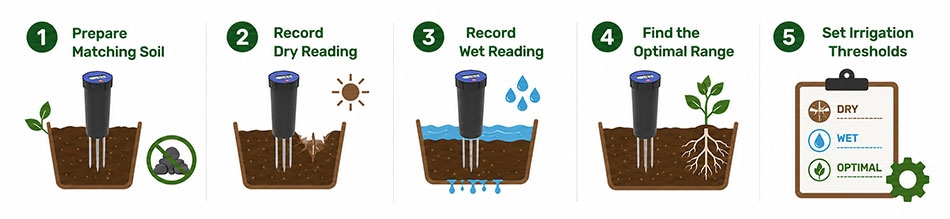
Step by Step Calibration Process
- Prepare soil that is identical to the soil in which the sensor will actually be used: Do not calibrate the sensor in one type of soil and then install it in another. If the sensor will be used in raised-bed soil, calibrate it in that soil; if it will be used in potting mix, use the same potting mix. Place the soil in a container deep enough to cover the sensor’s sensing area. Avoid having stones, air pockets, or loose areas around the sensor, as poor soil contact can cause unstable readings.
- Record the dry reading: Allow the soil to dry naturally, or use a soil sample that is already dry. Insert the sensor into the soil to the same depth as it will be used in practice. Wait for the reading to stabilize and record this value as the dry reference value. For baseline calibration, this can be treated as the 0% dry baseline. If using a gravimetric method, weigh the dry soil sample and keep the mass record for comparison.
- Record the wet-condition reading: Slowly add water until the soil is fully saturated. If the container has drainage holes, allow excess water to drain out. Reinsert the sensor and wait for the reading to stabilize. Record this value as your wet-condition reference value. For baseline calibration, this can be treated as the 100% wet baseline. If using a gravimetric method, weigh the moist soil sample after drainage to compare it with the dry mass.
- Determine the actual optimal moisture range: After watering, let the soil settle until it feels uniformly moist but not soggy. This is usually the best time to record the “optimal” reading. For potted plants, this may be the state after excess water has drained away. For raised beds, it may be the moisture level a few hours after watering. For greenhouse growing media, the ideal point may vary by crop.
- Set irrigation thresholds: Once you've determined the dry, wet, and optimal values for the soil, you can set the irrigation thresholds. A simple rule of thumb is:
| Soil Types | Recommended Irrigation Strategies |
| Sandy Soil | Water early, but use smaller amounts each time |
| Clay | Reduce watering frequency and extend the interval between waterings |
| Loam | Use moderate thresholds |
| Potting Mix | Careful calibration is required due to significant variations in materials |
| Greenhouse Mix | Use moisture target values specific to each crop |
Irrigation trigger points should not be set at extremely dry conditions, but rather at the stage when plants begin to need water but have not yet experienced stress.
Calibration Tips by Soil Type
 |
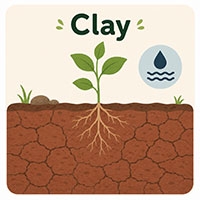 |
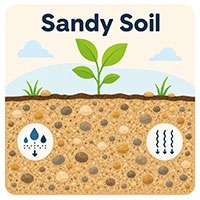
| Sandy soil has larger particles and drains quickly. The sensor may transition from wet to dry faster than expected. For sandy soil, place the sensor near the active root zone and set a higher dry threshold so that irrigation begins before the soil becomes excessively dry. | Clay has a high water-holding capacity. Even when the surface appears dry, the underlying layers may still be moist. For clay soils, avoid irrigating too early. Set a delay before irrigation begins to prevent the system from over-irrigating due to temporary changes in the surface. |
 |
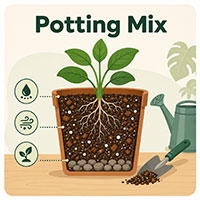 |
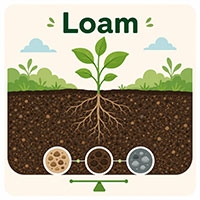
| Loam is generally easier to calibrate because it strikes a balance between drainage and water retention. The three-point calibration method works well. Record readings for dry, moist, and wet conditions, then select a threshold close to the lower limit of the healthy moisture range. | The composition of potting mixes varies widely. Peat-based mixes, coconut coir, bark, compost, and perlite can all affect readings. Be sure to calibrate the sensor after the mix has settled. Readings for newly prepared potting mixes may change after several watering cycles. |
A common mistake is placing soil moisture sensors too close to drip irrigation emitters. This can cause the soil near the sensor to be wetter than the actual root zone. Another mistake is using the same threshold for all plants. Tomatoes, cacti, leafy greens, and houseplants may require different moisture levels.
Never rely solely on a soil moisture sensor to determine whether to water. A more comprehensive system should take moisture readings into account alongside irrigation duration, rainfall data, plant species, and the visual health of the plants.
Sensor Placement: For most plants, the sensor should be placed near the root zone, not at the soil surface. In pots, this typically means the midpoint between the plant’s stem and the container wall. In raised beds, place the sensor where the roots are actively growing. In drip irrigation systems, avoid installing the sensor directly beneath a dripper unless you specifically need to measure dripper performance.
Automated Irrigation Using Soil Moisture Sensors
Calibrated sensors help prevent both over- and under-watering. The key is to set reasonable thresholds and include a brief delay before irrigation begins. This prevents the system from reacting too quickly to temporary fluctuations. For example, when moisture levels drop below the threshold, the controller does not need to start the pump immediately; instead, it can wait a few minutes to confirm that the soil is indeed still dry before irrigating. This improves the system’s reliability. For smart irrigation projects, you can explore soil moisture sensor types such as SUCH Sensor to help you implement a more effective soil monitoring solution.
Frequently Asked Questions
- Q1: Do soil moisture sensors need to be calibrated?
- A1: Yes. Calibration improves accuracy because soil type, density, and composition can all affect the sensor’s readings.
- Q2: Does a single calibration work for all soil types?
- A2: No. Sandy soil, clay, loam, and potting mix may produce different readings at the same moisture level.
- Q3: How often should I recalibrate?
- A3: You should recalibrate when you change soil types, replace the sensor, move the sensor to a new location, or notice that the readings do not match the actual soil conditions.
- Q4: Does calibration improve the reliability of automatic watering?
- A4: Yes. Proper calibration helps the system water based on actual soil conditions rather than guesswork.
Calibrating a soil moisture sensor is not complicated, but it is crucial. The best practice is to measure the dry, wet, and actual moisture states separately in the soil where the sensor will actually be used. Once calibration is complete, the sensor can provide more useful data for plant care, irrigation planning, and automated watering control.


